Philodendron Gloriosum Propagation In Moss
I just propagated my gloriosum and documented the process, here I cover all you need to know about philodendron gloriosum propagation in sphagnum moss.
See also: Philodendron Gloriosum Care for a full guide to caring for this plant, as well as our other posts: Philodendron Gloriosum Propagation In Leca, Philodendron Gloriosum Propagation In Water. And How To Propagate Philodendron.
What You’ll Need To Prop Your Gloriosum In Moss
You will need:
- A philodendron gloriosum
- Sphagnum moss
- A clear cup
- A clean and sharp knife or scissors
See also: our guide How To Prepare Sphagnum Moss For Propagation.
Philodendron Gloriosum Propagation In Moss
Time needed: 1 hour
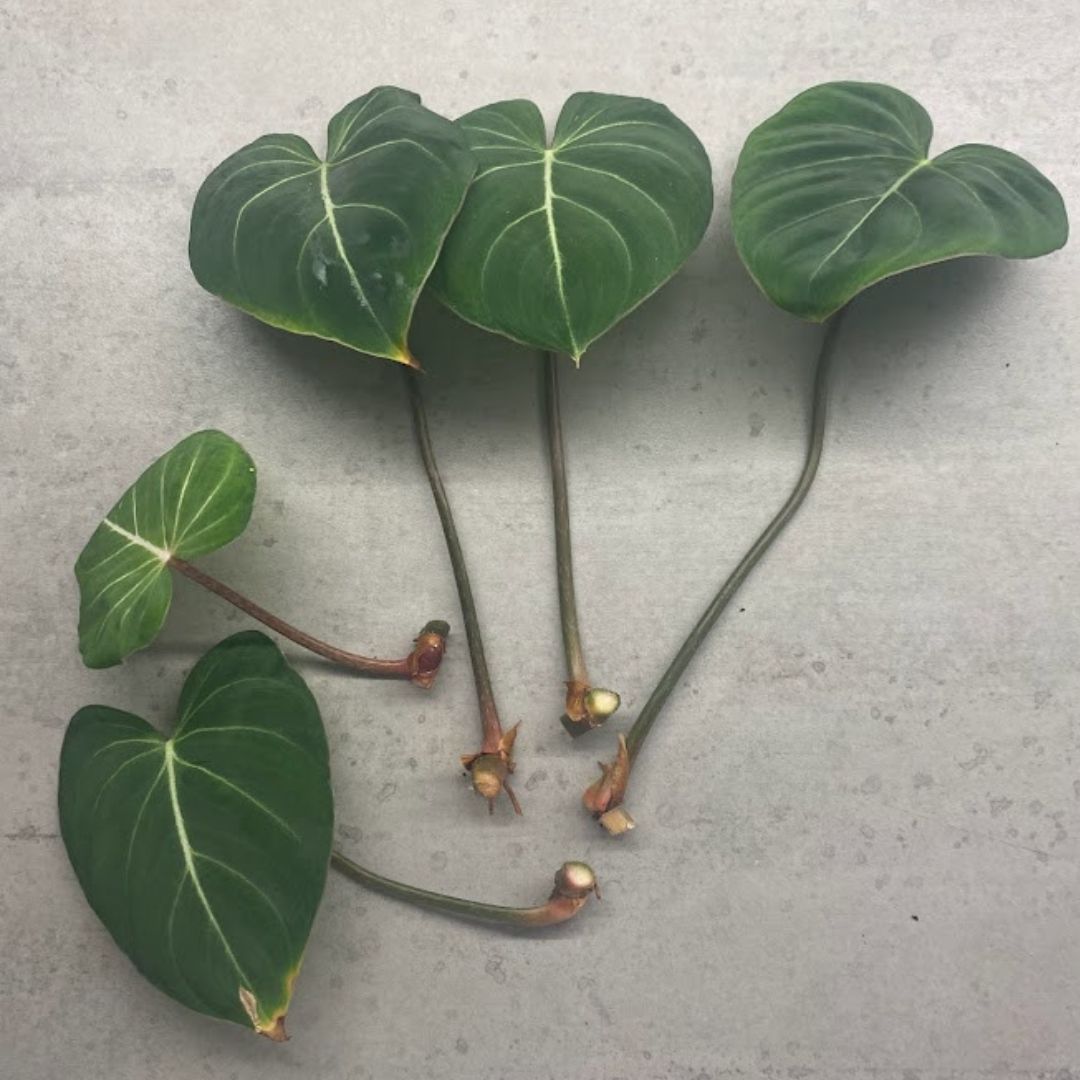
- Take the cutting
Take your cuttings. You want to cut them so that each cutting has one leaf, one stem and one node. Gloriosums have a ‘crawling’ growth patten which means the stem grows sideways across the soil (it may even be buried under it but it will still grow sideways). It consists of nodes which put out stems that grow upwards with one leaf on each. It will often grow too big for the pot and the sideways growing stem will push out over the edge of the pot. You can cut this off and chop each node node-stem-leaf cuttings up separately and propagate them. Taking a gloriosum cutting can be difficult as the nodes can be really close together, so be really careful.

- Let the cuttings callous over
Let the cuttings callous over for a few hours so that the open wounds are healed up, as open wounds can lead to rot.
- Prepare the moss
Soak the moss and squeeze off any excess water. Pick the moss apart if it is is clumped together so there are no hard lumps in it.
- Half fill the cup with moss
Half fill the cup with moss, but do no push the moss down too hard. A quick note about drainage: I do not put holes in the cup, I put a layer or two of leca at the bottom of a plastic cup. This will stop the moss from getting too wet, and it also keeps the moss moist for longer as the excess water will be drawn up into the moss when the moss dries out.
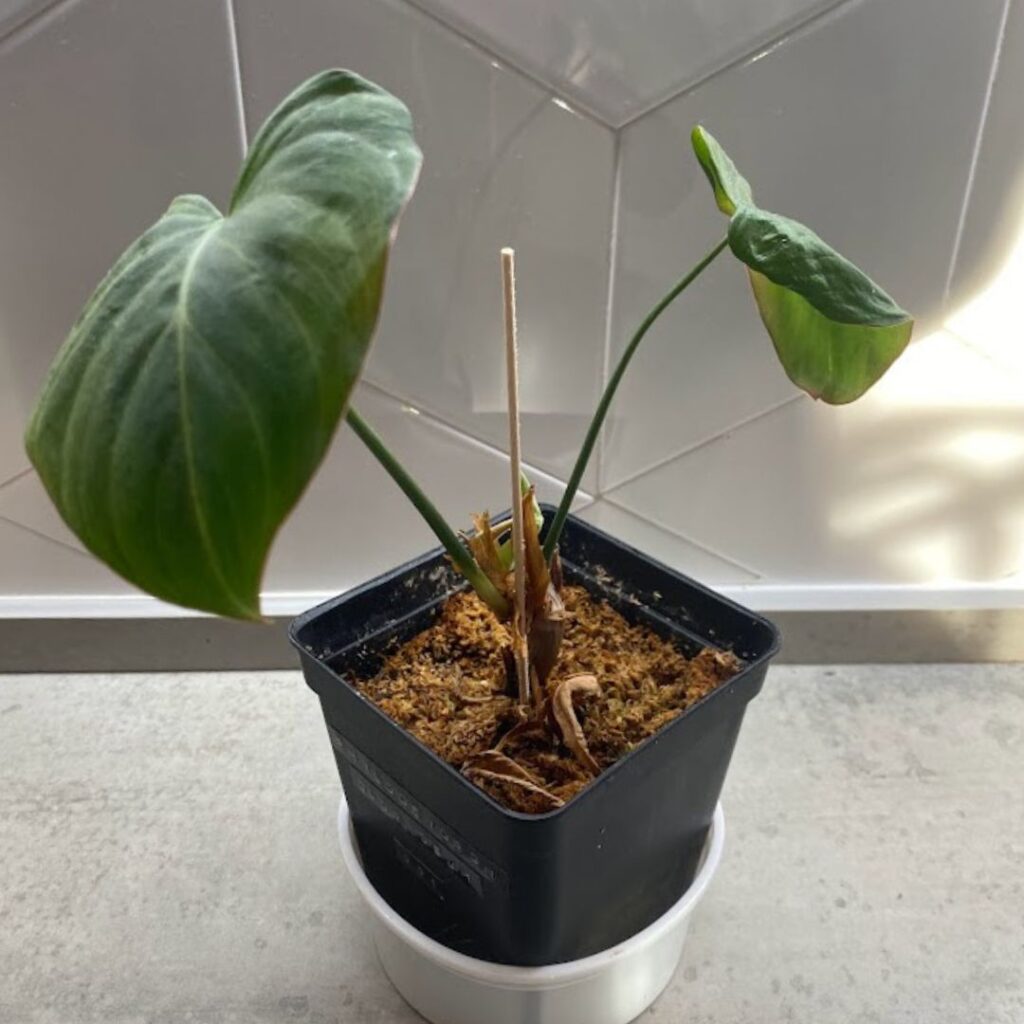
- Put the cuttings in and fill in with moss
Then plant the cuttings in the sphagnum moss, and fill around the sides with more moist moss. You want enough to hold it in place but you do not want to compact the moss too much, as air to the roots is great.
- Put them in medium indirect sunlight
Keep the cutting in indirect sunlight and humid to encourage rooting. You want to keep the moss moist but not soaking.
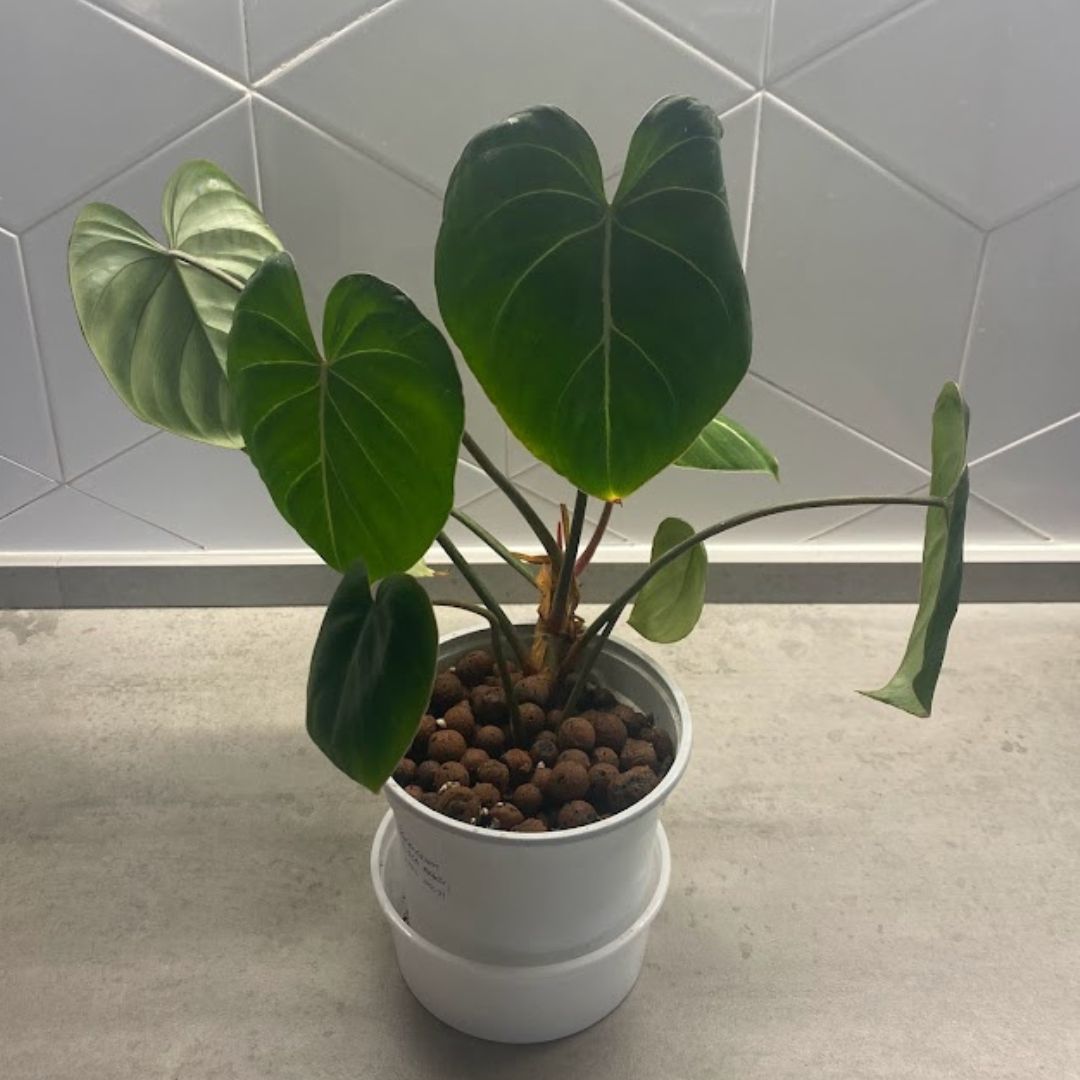
- Let it root
It should root over the next few weeks and months and then you should see growth from the top of the plant. You can keep it in moss ongoing or move it to soil. The important thing is that it has space to grow horizontally. If it hits the edge of the pot sometimes the older leaves can die off, but if you give it as much room as you can to spread out each leaf should be bigger than the last and you can get huge leaves.
You can find all our articles on sphagnum moss propagation here, like the Philodendron Burle Marx Propagation In Moss article.
Further Reading
You might also like our other articles:
Philodendron Gloriosum Care, Philodendron Gloriosum Propagation In Leca, Philodendron Gloriosum Propagation In Water.